Open surgery on a 20yr old ... GameCube

Finally, my journey into retro hardware restoration has begun. Console generations across the 90s, 2000s and 2010s have been ever present in my life. Be it at home, work or even in my dreams.
Naturally, I developed a desire to save these nostalgic pieces of technology in the hopes that I can one day share and develop gaming memories with my own kids.
Yet, being a coder by trade, I've always been better at maintaining software than hardware. The most I could do to maintain old consoles was either change wasted AA batteries, or save devices from a fate worse than death ... in the garbage!

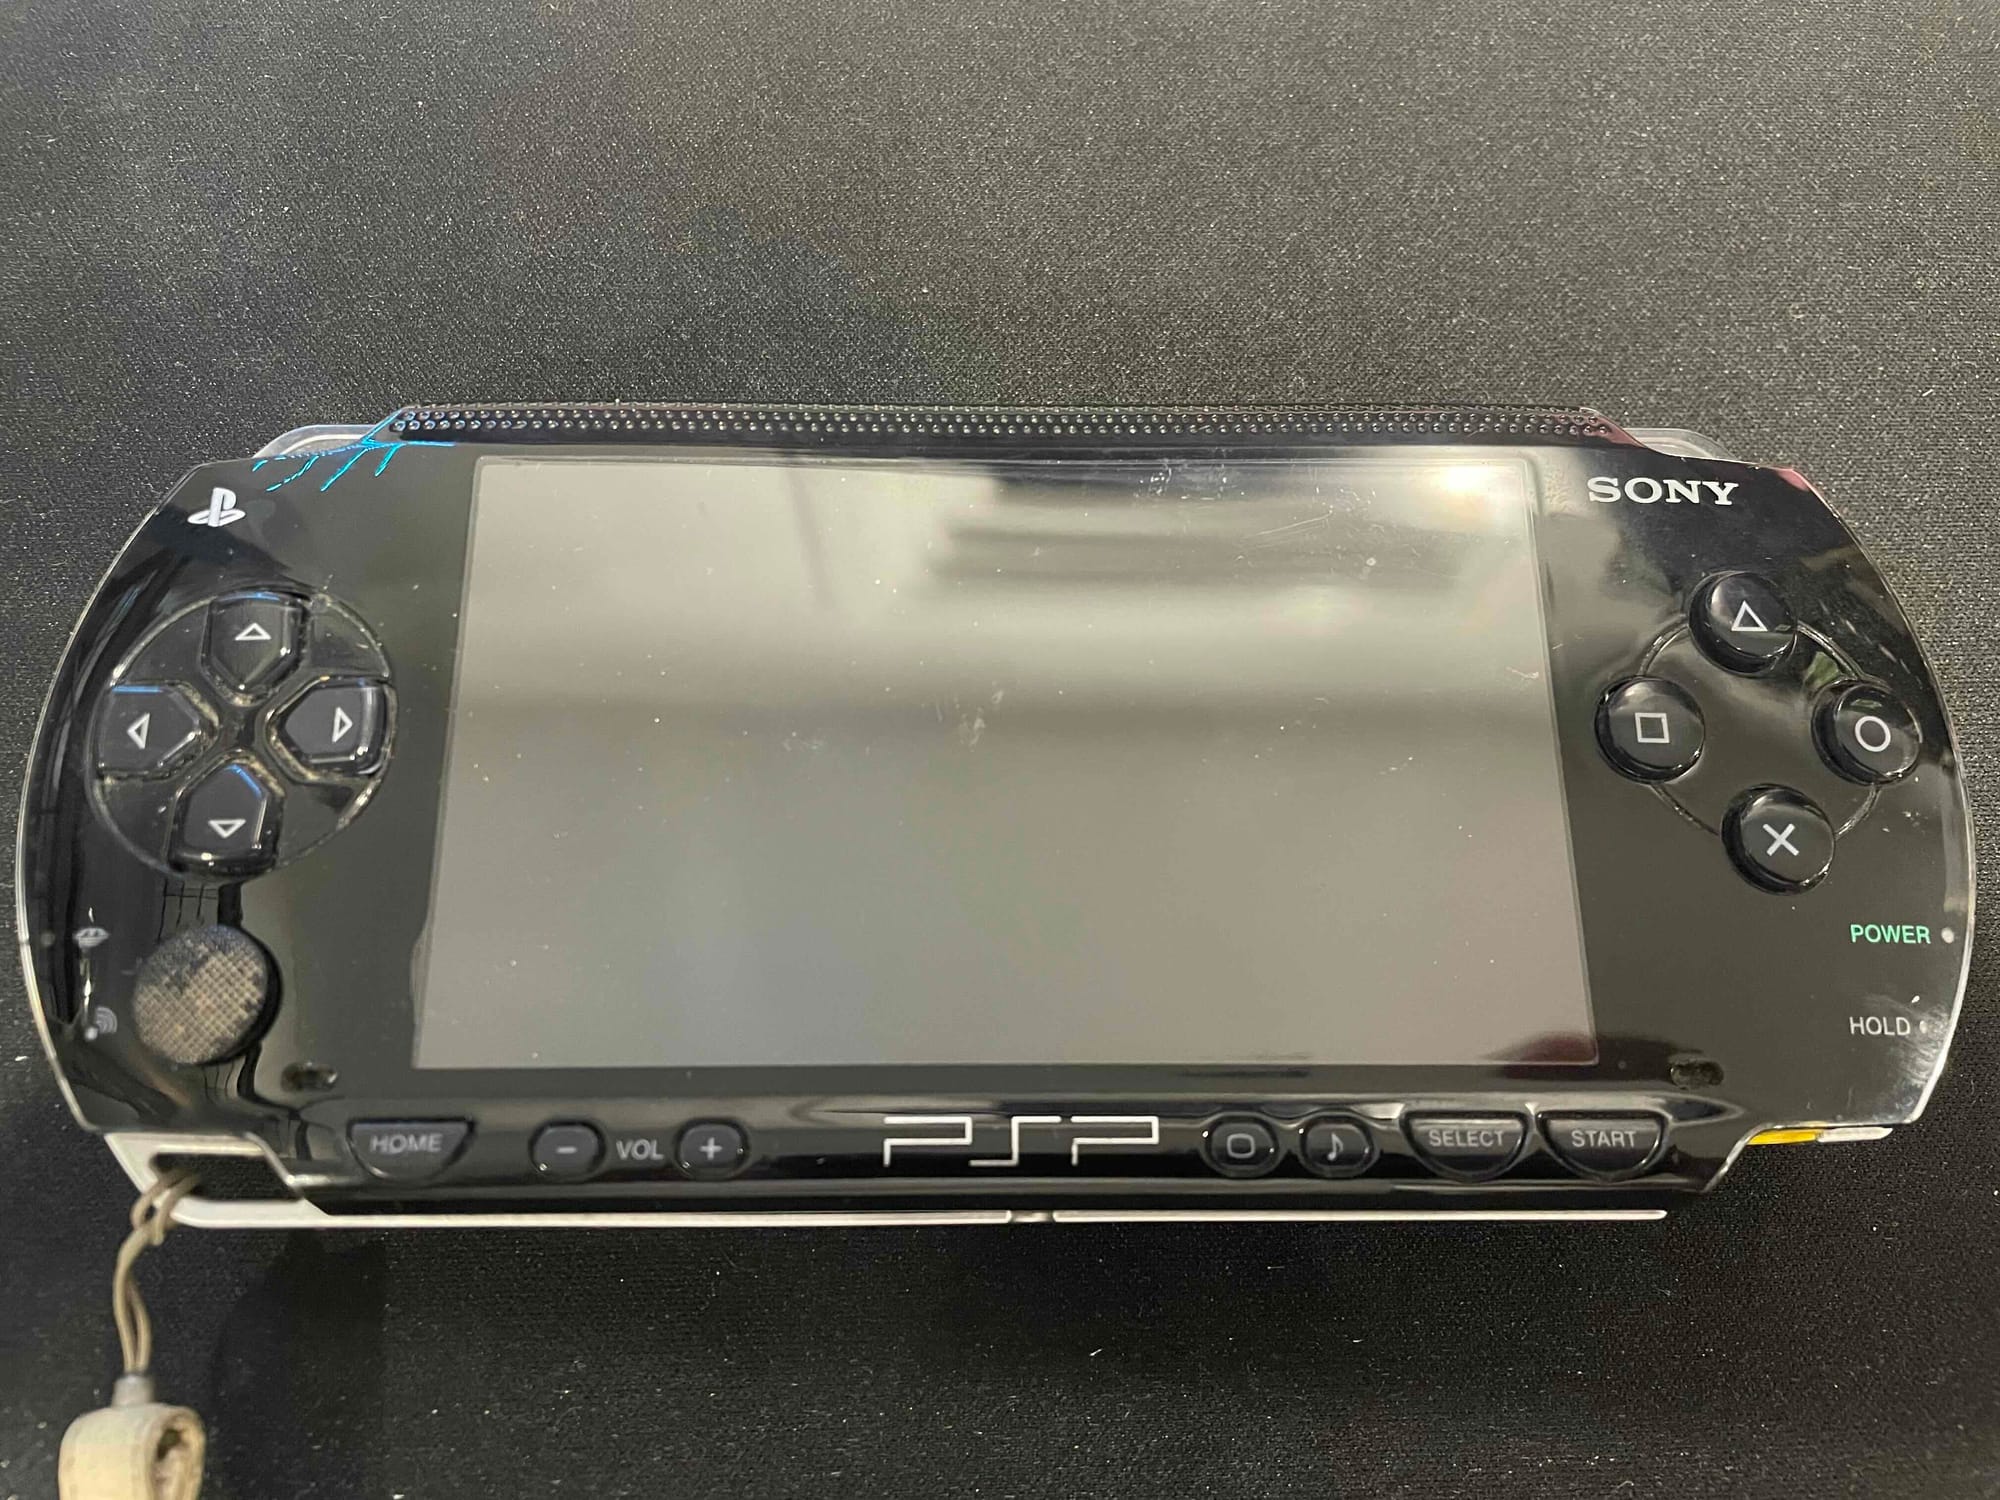
I figured my first attempt would be on my Nintendo GameCube, something I spent many, many hours on as a young teen. Metroid Prime, Mario Kart Double Dash, Billy Hatcher, MGS Twin Snakes. To name a few.
To get started, I needed a reference. I found this awesome guide on the ol' Tube and began the preparations.
For tools, I only needed to order 1 item. I ordered a gamebit screwdriver to unlock the screws holding the GameCube case together. It appears that some consoles, specifically Nintendo brands, have unique screws and bits holding everything together. I'm hoping this screwdriver also works for my N64 and Gameboys too.
Once I had the screwdriver, I could finally open up the case and witness a collection of dust built up over a 1/4 of a lifetime.
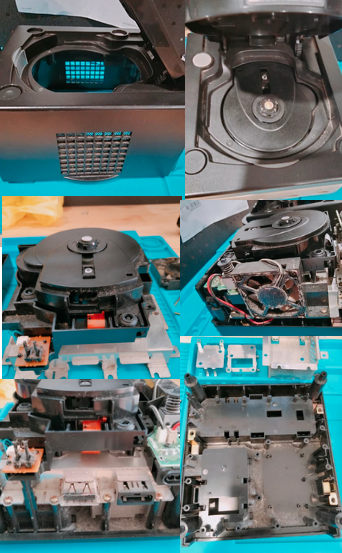
It honestly wasn't that bad following the video. Dusty? Yes. Salvageable? Yes. Difficulty? Surprisingly little.
My cleaning tools consisted of a toothbrush with soft bristles, disinfectant wipes (Pinocleen kitchen wipes) and a microfiber cloth. The toothbrush disturbed and brushed away most of the dust, whilst the cloth collected the remains. Using the wipes I was able to add a touch of moisture to help lubricate the brush. To top it off, I used my Ryobi workshop blower to lightly blow away all the remains off the hardware and the collection of dust now gathering on my garage floor.
Putting it all back together was simply a matter of retracing my steps, and most importantly, going one step at a time. It can be tempting to speed run this part and accidentally break a board or ribbon. Once I had everything back together, I plugged the power in and gave it a test run.
Unfortunately, I did not get a first try success. It turns out I had not successfully plugged a ribbon into the slot connecting the controller board to the main console. Even when not speed running, I failed.
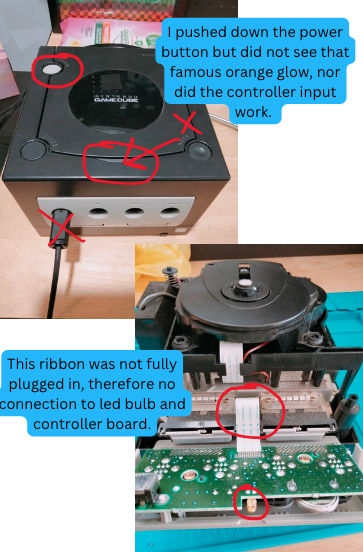
Luckily, I felt confident enough to take it all apart again. I only had to unscrew & remove the case to begin inspecting the erroneous ribbon. To be honest this was probably the hardest part, as I didn't want to risk ripping the ribbon to force it back into its slot.
After nervously maneuvering my fingers gently like a Bomb Diffuser at work, I successfully plugged that bad boy back in and began test run #2!
gamecube test run #2
There we have it👏, I have successfully completed my first Retro Restoration (TM). 🎉. I gave Mario Kart Double Dash a run for about 10 minutes and recorded no issues, and most importantly, no havoc caused by my activities. 🎉
As some sort of ranking system, I'll start summarizing each restoration I undergo.
- Time: 1-2 days (stop/start across 2 days)
- Complexity: Low
- Nervousness: Low (high for only 1 point)
- Stress levels: Low

Bonus
Where would I be without my memory cards. Looking at my saved games, I seem to have a mix of genres.
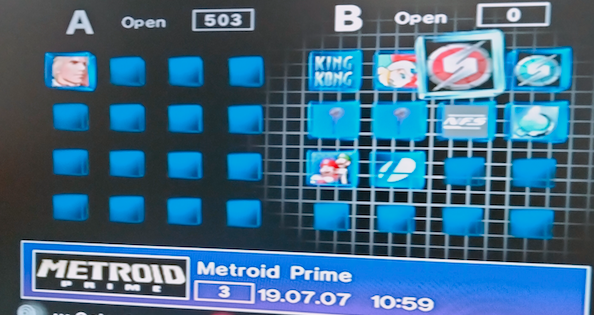
- Fighting - Soul Calibur 2
- Adventure - Metroid Prime 1 & 2
- Platformer - Billy Hatcher
- Racing - Need For Speed, Mario Kart
- RPG - Final Fantasy Crystal Chronicles
- Movie? - King Kong
That's all for today, thanks for reading and I shall be back soon enough for another console cleanup.