Dusting off a PSP 1000

About a year ago, I gave my Gamecube a new lease on life. It involved lots of screws, stressful ribbon attachments and dust. Now, with a little more experience and confidence at hand, I decided to give my PSP the same treatment.
I used this guide to help me with disassembling the outer layer. I am not going as deep into as the Gamecube, instead I am focusing primarily on a face level & screen clean.
Trouble at the front door
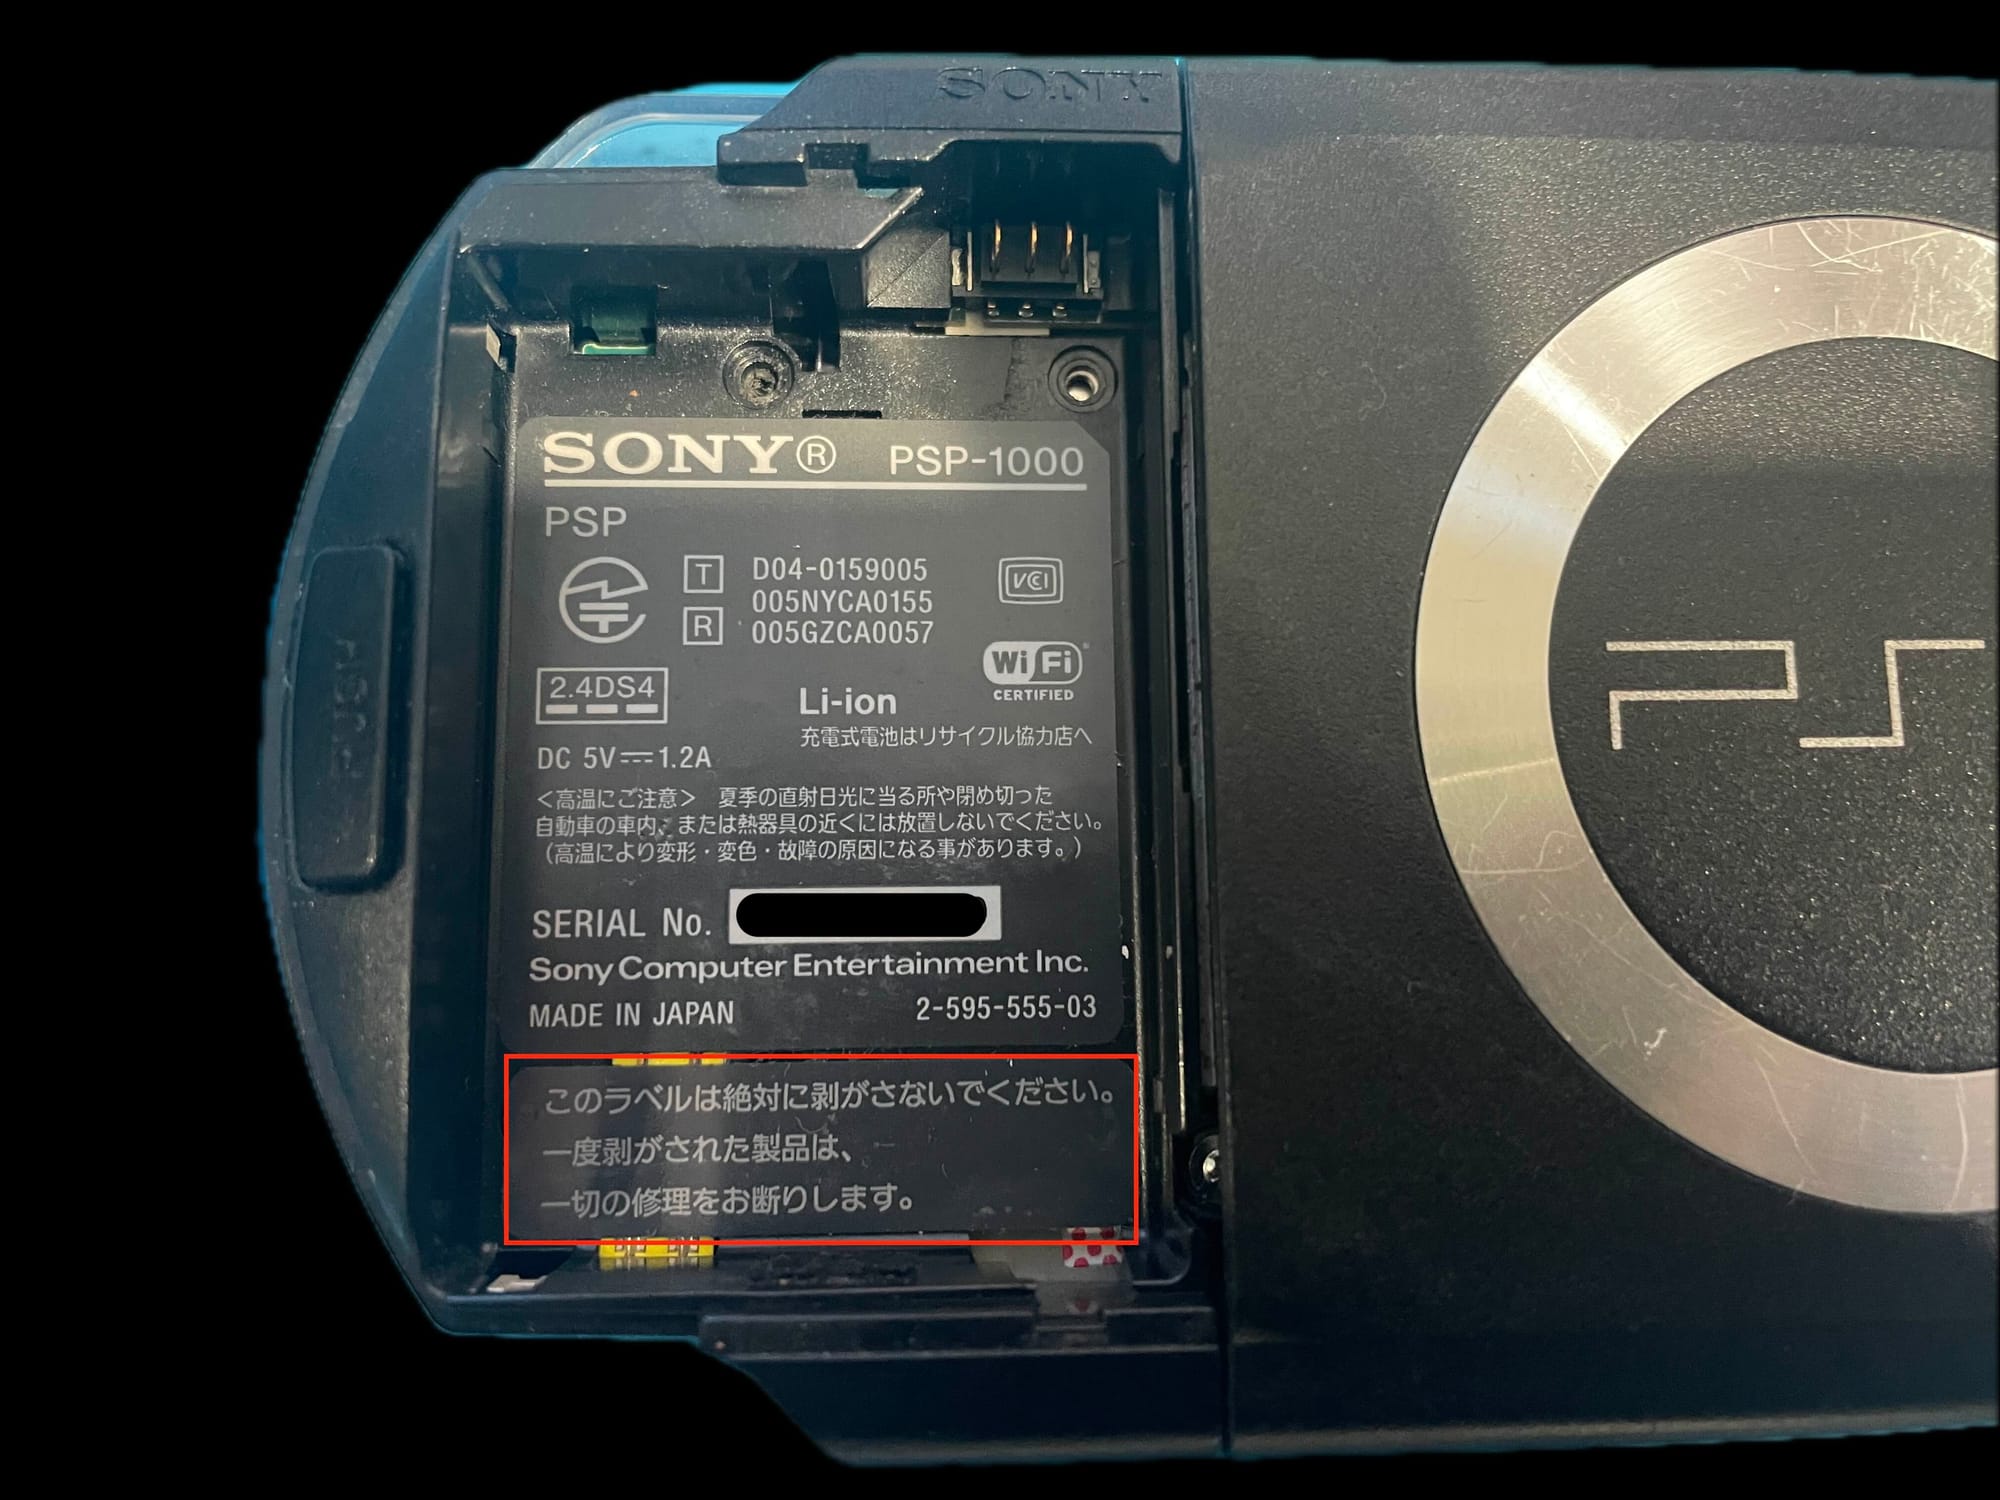
Opening up the case was progressing fine ... until ... this darn warranty sticker came along. This would not come off. I repeatedly scratch & pulled at each corner, whilst also trying not too damage or mark with my tools. Eventually, I got there. My tiny tweezers locked in, gripped an edge and I finally pulled it off.

Now with the sticker removed, I can unscrew the final screw and open up the case. What I did not realise initially was that all front inputs are actually soft pads that have specific slots and opening the case causing many of them to fall out. Woops.
To reduce my scope of cleaning this first time, and to err on the side of caution, I left the bottom row of inputs (start, home, volume, etc) intact and only cleaned them from the exterior.
Movement inputs

The state of these inputs weren't too bad. Well actually, looking at it again, the analog stick is filthy. Not sure what exactly that is but it's not pleasant. Using my handy cleaning toothbrush, I brushed away all the dust off the case & pads, followed by wipe of windex. Easy!
Action inputs
The circle, triangle, square and cross buttons (surely there is a short name for these!) were next and they were also easy enough. Again, brushing the dirt & dust off the buttons was the plan.

The complicated bit here was returning the action buttons to their original placement. Only upon squinting at the back of the case did I notice tiny, tiny button icons indicating their original placement.
Below I have circled in red to show just how obscure, yet extremely helpful, these icons were.

Closing the shell
By this point, I've sprayed, dusted and cleaned all the pieces at my disposal and now it's time to close up the PSP. Importantly throughout this whole process I was taking photos of screw placements, button layouts and anything else I might forget during the cleaning.
When performing console repairs (or any repairs really), it's becoming standard for me to capture before-state photos to refer to. This is extremely helpful when closing up a consoles shell and placing everything back in the correct spot. Nobody likes to have the X and O buttons in each others positions!
Before returning the PSP to its default state, I took a final glance at the open internals.

Such clean, precise and solid manufacturing for a solid, powerful and miniture device. I can only hope that these devices can make it another 20 years for yet another clean!
Mission report
Goal: To clean off dust, dirt & anything else that is safe to remove from the PSP face and buttons.

Complexity: 3/10
Time: 40mins
Annoying bits: Getting that darn warranty sticker off. Scratched more than I wished.
Overall, this was a good mission. Apart from the warranty sticker, there were no major hurdles. Given I was focusing only the face buttons, they were trivial to return to their original position. Of course, if I were to go deeper, fiddling with ribbons, tiny connectors, and more pieces beneath, my luck would decrease whilst my frustraction would no doubt, increase.
That's for next time though, as I hope to resolve the disk door not closing fully ... oh well it still works for now.
Lastly, 1 final thing I repaired, or replaced rather, was the battery. The previous original battery was no longer capable of charging and needed to be plugged in for the console to remain powered. After purchasing & fully charging a new battery, I can now take Medieval and Shin Budokai on the road. Just like ol times.


